Manual assembly
You can install your sliding wall yourself. Fortunately, this is quite simple. But make sure you have the following tools on hand:
Tools
- Screwdriver
- 4.5×50 screws or others for the upper rail. (You can order them in the online store)
- X-Tack Adhesive Sealant. (You can order it in the online store)
- Saw (for insulating tapes and side parts)
- Plumbing pliers
- Cross line laser spirit level
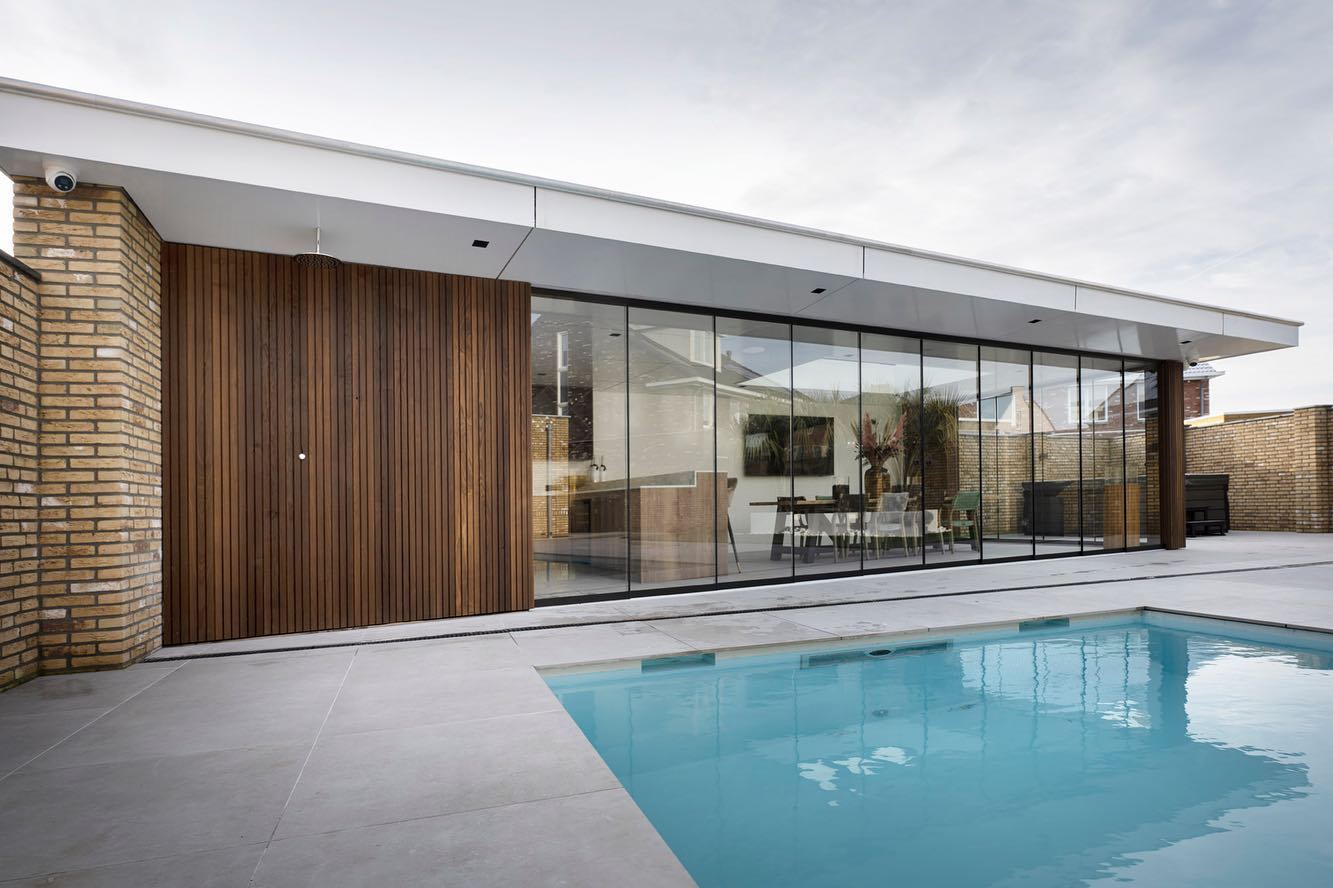
”I assembled the glass walls together with my neighbor. We installed two walls of more than 4 meters in one morning.. Great!“
García Family
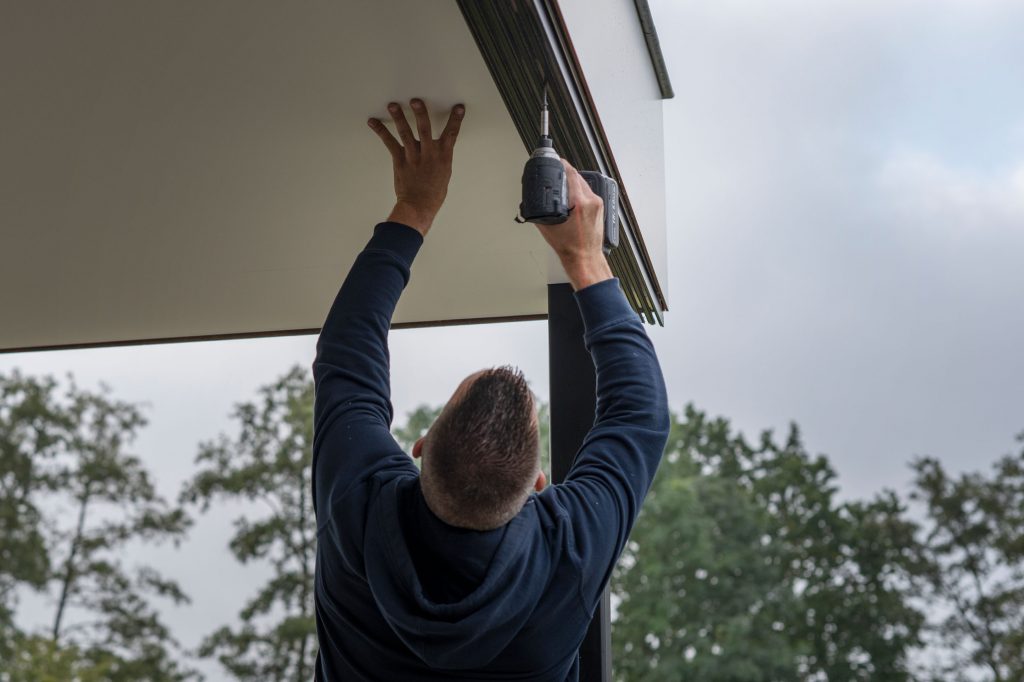
Step 1. The upper part
Drill a 5mm hole approximately every 50cm in the inner and outer rail. Then screw the top rail onto the bar or ceiling with screws.
Step 2. The bottom
Make sure you have a solid base on which you are going to place the sliding system. The floor must be reasonably level, otherwise the windows will collapse. The wheels can be adjusted a bit.
Then install the bottom part perpendicularly under the top part. It can be drilled and screwed or glued with X-Tack (also available in our online shop). Install the bottom with the weep holes facing outward.

Step 3. The glass panels
Attach the glass undercarriage to the window and gently lift the glass panel between 2 people. Place it in the desired top lane. Then carefully lower it into the corresponding bottom rail. Repeat the operation with each panel.
After you have installed all the panels, you can easily adjust them if necessary by turning the allen key clockwise (this will raise the wheels).
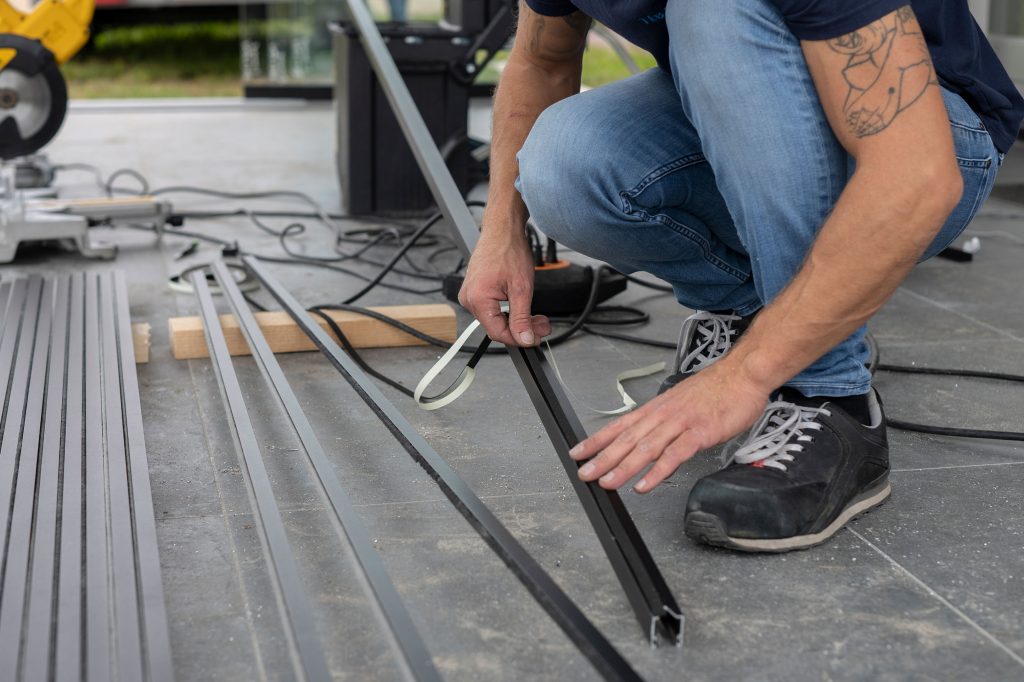
Step 4. The side parts
We deliver the side parts and the insulating tapes always too long.
The side parts: Take a small piece of the side profile so that it extends down to the subfloor. Then score it flush with the bottom of the top and cut it to size. You can glue or screw the side parts.
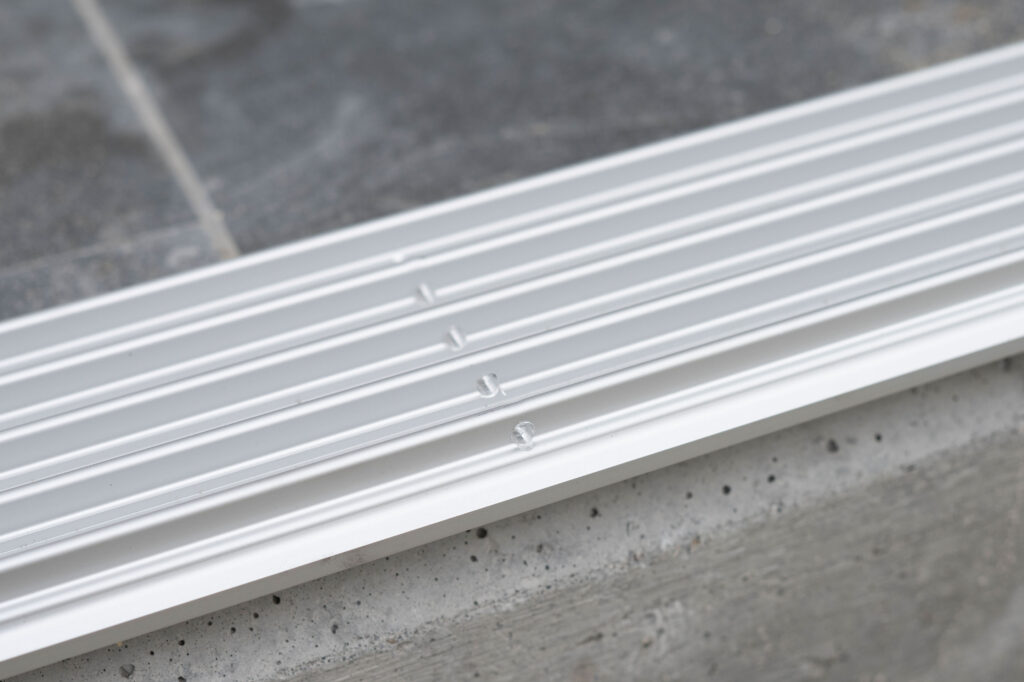
Step 5. The insulating tapes
On each overlay, measure the length from the top of the glass undercarriage to the low end of the top. If there is an unevenness in the floor or deck, these lengths may vary. Always take the smallest length and subtract 8mm from it. You can then cut all the electrical tapes to the same length.
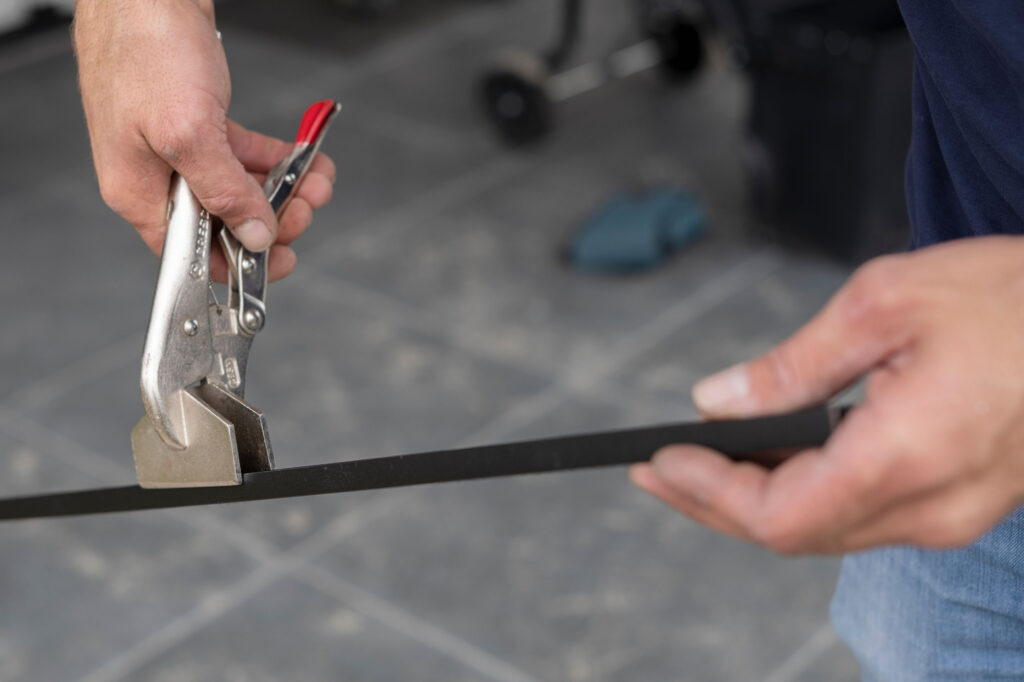
You can glue the electrical tapes to the window or fasten them. In the latter case, use a pair of pliers to lightly squeeze the electrical tape approximately every 15 cm so that it holds onto the window.
NOTE: If you have ordered squeegees, you must fit them before cutting the electrical tapes to size, as they will be shortened by 7mm for each squeegee.
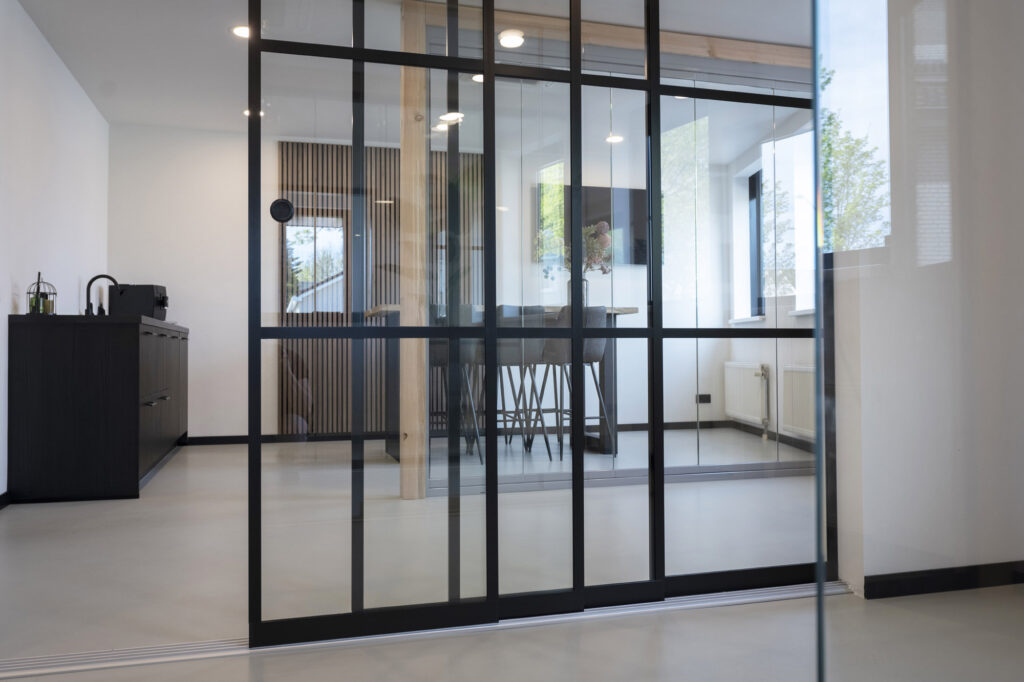
Optional: in steel look with 3-leaf rod division
If you choose the option “Steel look with 3-leaf rod division” you cannot use the insulating tapes. The vertical space between the sheets is so minimal that nothing can fit inside.
You will receive the vertical parts overlength, and the horizontal parts exactly tailored. Assembly is like this: Once you have assembled and adjusted the entire wall, measure from the glass undercarriage to the top of each glass overlay. Take 5 mm more from this measurement and cut the vertical profiles according to this measurement.
Mount the vertical U part to one side of the glass. Then use a crosshatch laser or spirit level to mark 2 lines (for 3 parts) and stick the horizontal self-adhesive strips on the glass. After mounting the horizontal slats, the vertical U-profile can be mounted on the other side of the glass.
Glue the vertical U profiles with transparent tec-7 or another adhesive sealant. The horizontal rods are self-adhesive.
Recensies
Satisfied for 100%
A great experience! Both the help in the purchase and the installation were totally satisfactory.
Mr. Candia Ferro
Perfect
Truly, perfectly tailored! A fast and impeccable delivery. We definitely recommend it!
Jiménez Family
Excellent service
The slip system was delivered quickly and installation was easy. We are very happy.
Gómez Family